2.6 KiB
| title | date | draft | description | tags | categories | startpage | lang | |
|---|---|---|---|---|---|---|---|---|
| Timelaps Foto | 2024-07-28T19:25:53+02:00 | false |
|
true | en |
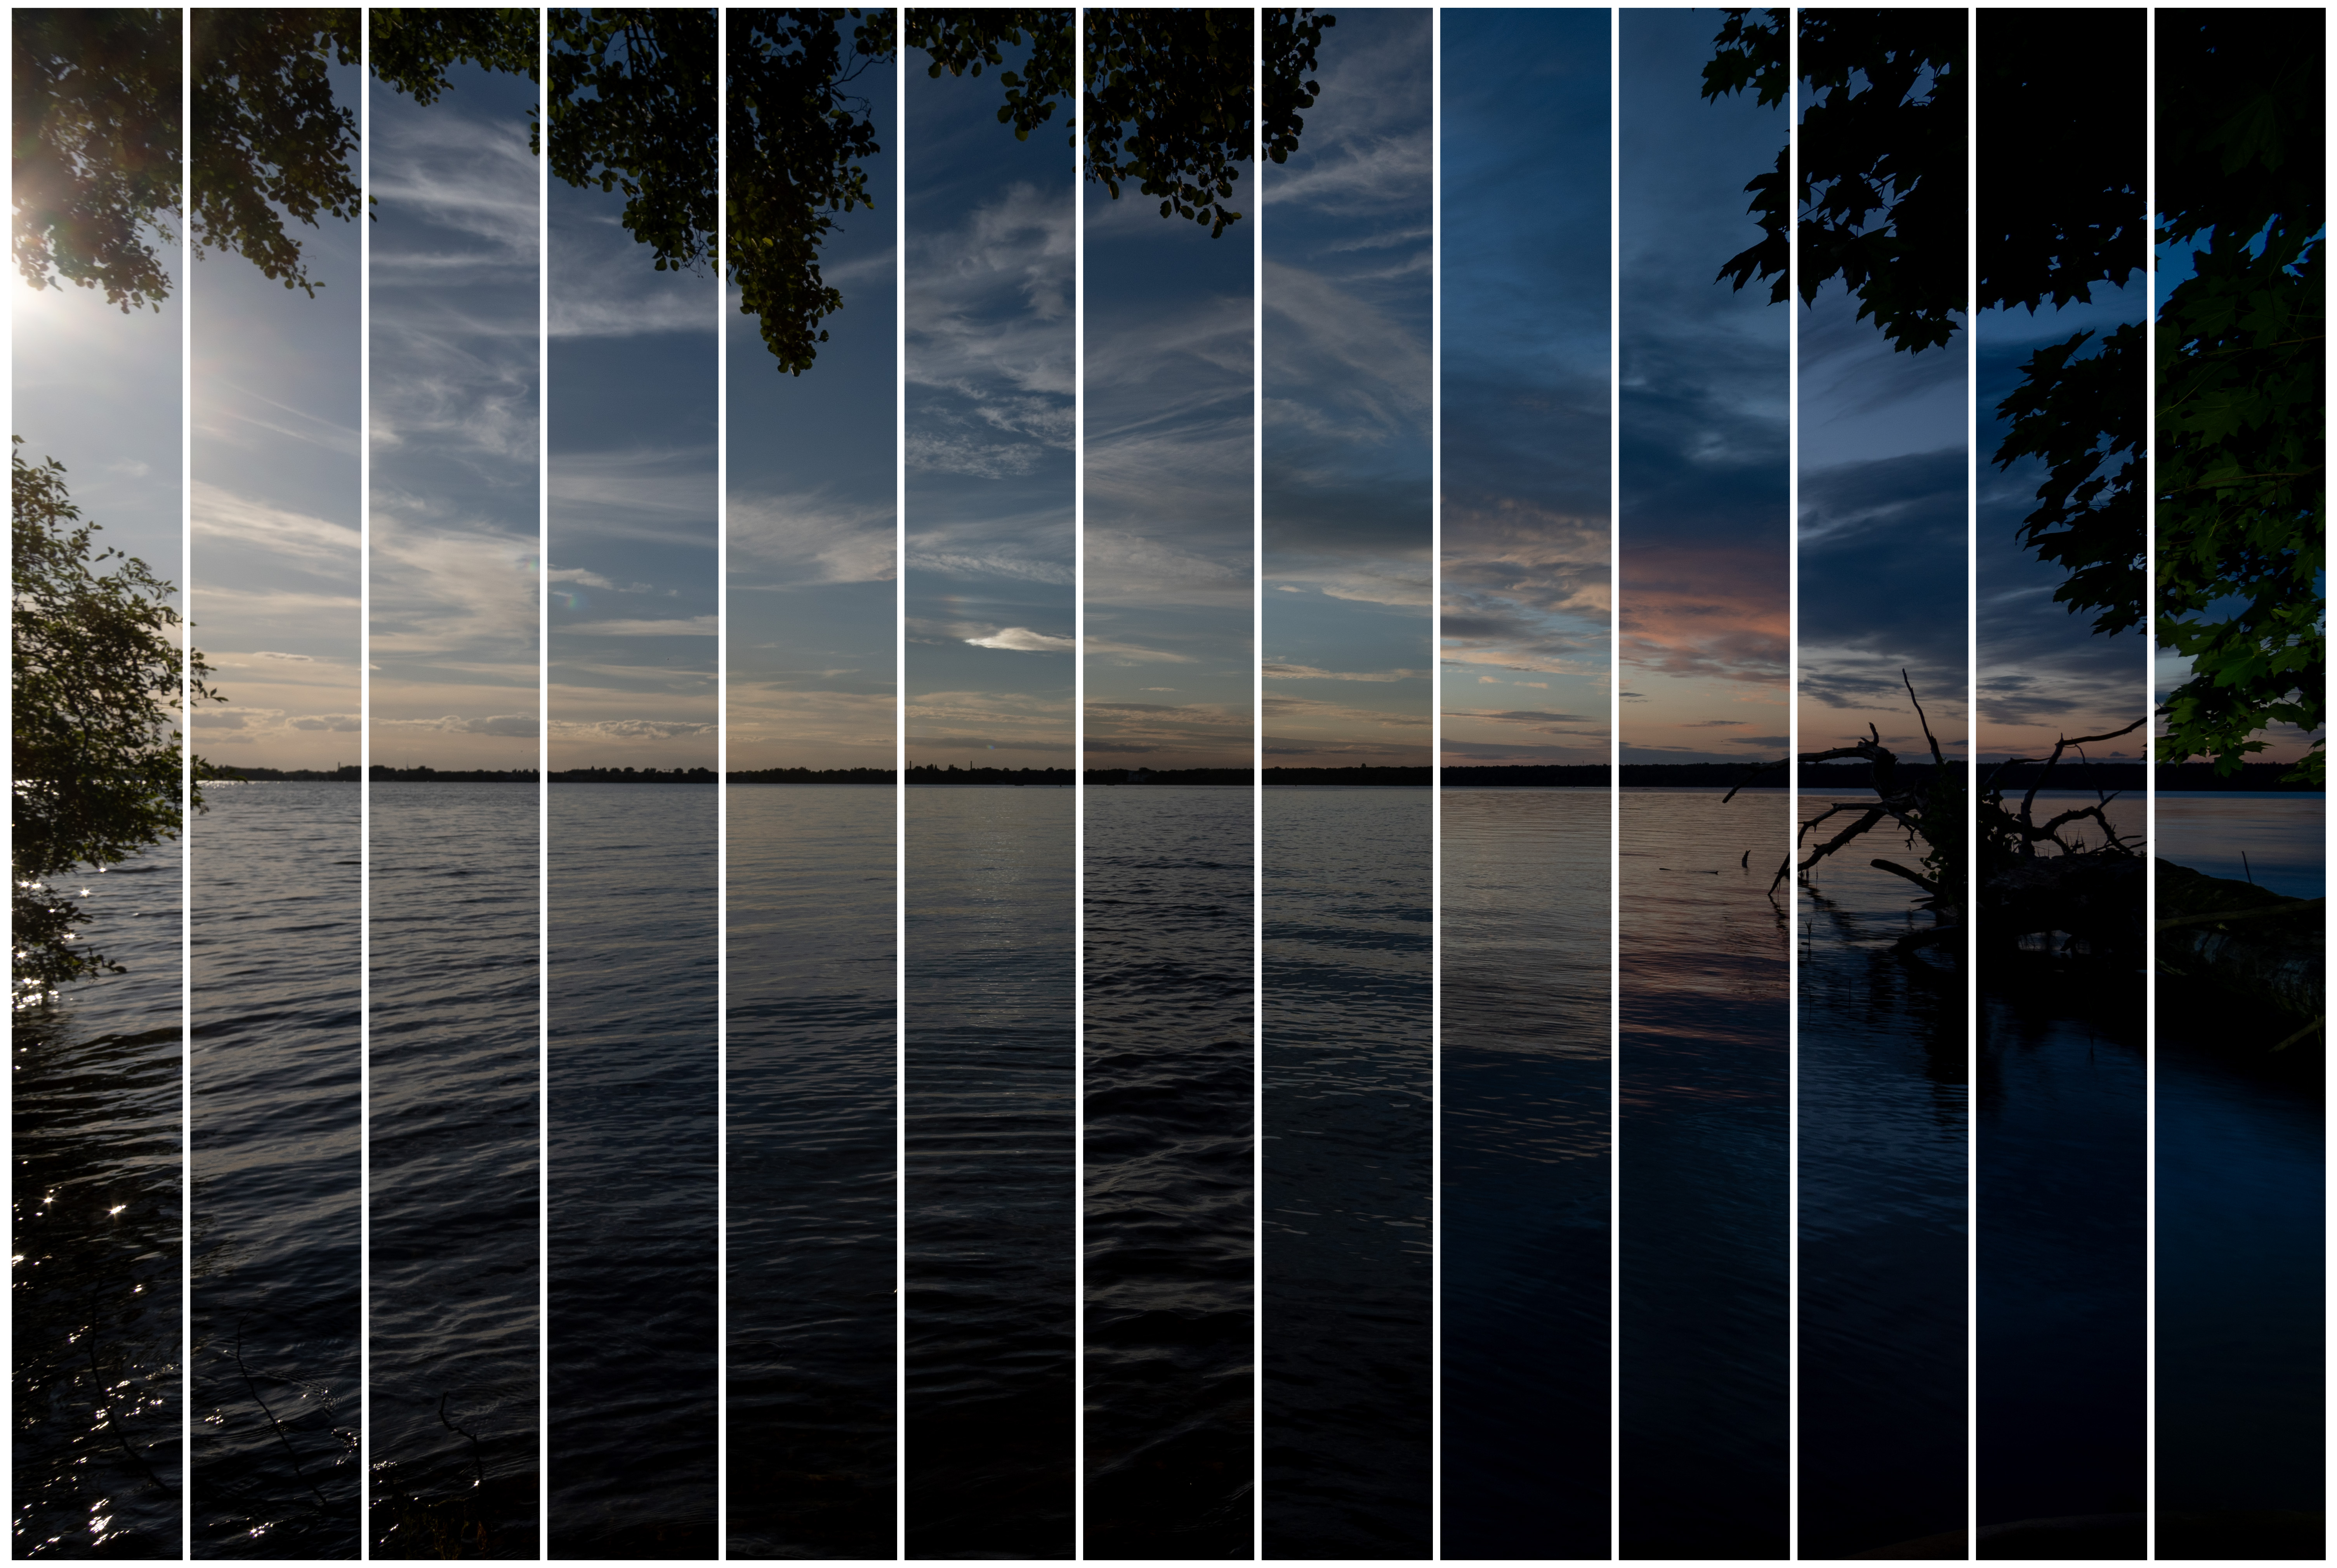
The Idea is to take the same Picture over a long time and combine them into one timelaps but not as video, just in one picture with slices.
Do it with a template in Photoshop
To generate an Image like this it was easyest for me to create a template file in Photoshop with black bars. There I can make sure that the size and borders are correct, that looks like that:
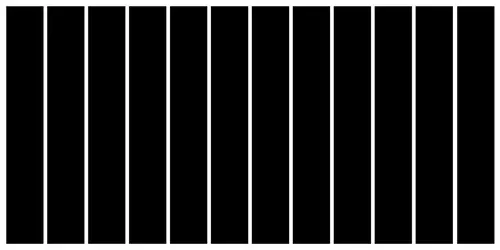
First, open Photoshop and create a new document with your desired dimensions. Use the shape tool to draw black bars where you want them to appear in your final image. To ensure these bars are aligned correctly and are of the desired thickness and position, you can use the transformation tool. This allows you to set the black bars pixel-perfectly by using the 'Transform' option in the right sidbar. You can then enter exact pixel values for positioning and size in the options bar at the top.
Next, prepare your photos in Lightroom by selecting all the photos you want to use. Send these photos to Photoshop as layers by selecting them, right-clicking, and choosing 'Edit In' > 'Open as Layers in Photoshop.'
In Photoshop, you will now have a document with each of your selected photos on separate layers. Ensure the template with the black bars is the topmost layer. This will act as a guide for masking. Select the layer with the black bars and use the Magic Wand tool (or any other selection tool) to select the black areas. Once the black bars are selected, create a layer mask for each photo layer by clicking on the first photo layer in the Layers panel and, with the selection active, clicking the 'Add Layer Mask' button at the bottom of the Layers panel. This will mask out the areas where the black bars are, making those parts of the photo invisible. Repeat this process for each photo layer.
You can adjust the position of each photo layer if necessary to ensure they fit well within the unmasked areas. If you need to make any further adjustments to the masks, you can do so by painting directly on the layer masks with a black or white brush (black to hide, white to reveal).
Once all the masks are correctly applied and the images are positioned, add any final adjustments or effects. Save your work as a Photoshop file to preserve the layers and masks for future editing. Finally, export the final image in your desired format.