| .. | ||
| assets | ||
| content | ||
| data | ||
| images | ||
| layouts | ||
| config.toml | ||
| LICENSE | ||
| logo.png | ||
| README.md | ||
| theme.toml | ||
no style, please!
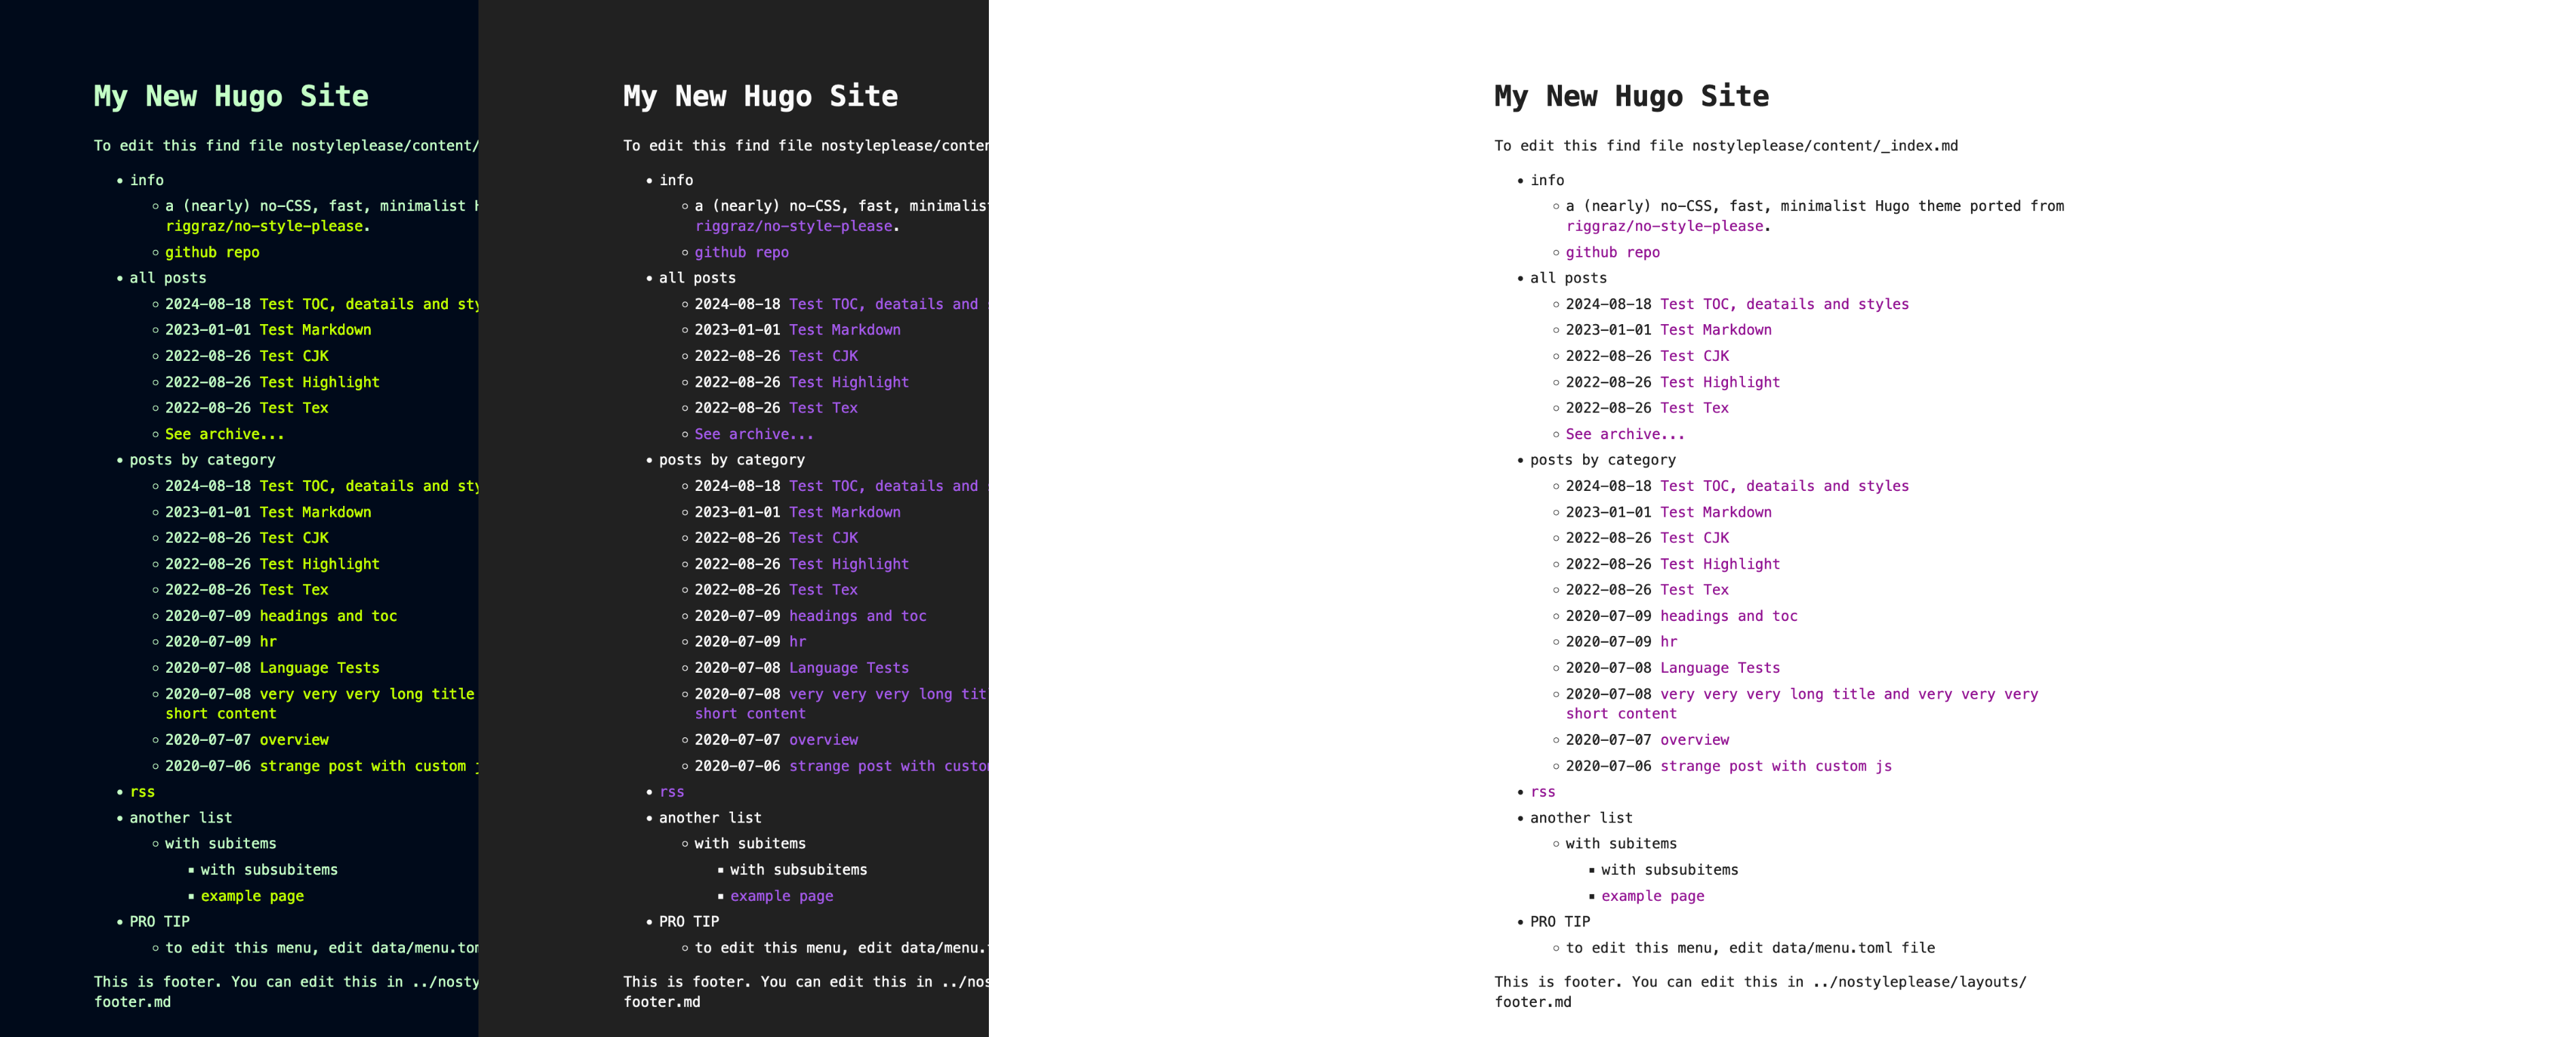
 A (nearly) no-CSS, fast, minimalist Hugo theme ported from riggraz/no-style-please.

Features
- Fast (1kb of CSS!)
- Light, dark and auto modes
- Responsive
- Content first (typography optimized for maximum readability)
- RSS feed (using Hugo's embedded RSS template)
- MathJax support
Installation
The easiest way is to clone this repo (or add as a submodule) to themes/nostyleplease then append theme = 'nostyleplease' as a newline to config.toml. Pages shipped with theme as examples have draft: true in their frontmatters, use --buildDrafts to build them.
Usage
You can edit config.toml file to customize your blog. You can change things such as the name of the blog, the author, the appearance of the theme (light, dark or auto), how dates are formatted, etc. Customizable fields should be straightforward to understand. Still, config.toml contains some comments to help you understand what each field does. Note that the config.toml under root directory of your hugo site will completely override the one in the theme directory, so copy the attributes you want to keep or edit from the theme's config.toml to your site's config.toml.
Customize the menu
In order to add/edit/delete entries from the main menu, you have to edit the menu.toml file inside data folder. Through that file you can define the structure of the menu. Take a look at the default configuration to get an idea of how it works and read on for a more comprehensive explanation.
The menu.toml file accepts the following fields:
entriesdefine a new unordered list that will contain menu entries- each entry is a member of the TOML array
entriesin question - each entry can have the following attributes:
title, which defines the text to render for this menu entry (NB: you can also specify HTML!)url, which can be used to specify an URL for this entry. If not specified,titlewill be rendered as-is; otherwisetitlewill be sorrounded by a link tag pointing to the specified URL. Note that the URL can either be relative or absolute. Also note that you can get the same result by placing an<a>tag in thetitlefield.post_list, which can be set either totrueor to an object. If it is true, the entry will have a list of all posts as subentries. This is used to render your post list. If you want to customize which posts to render (e.g. by section), you can add one or more of the following attributes underpost_list:section, which can be set to a string. It is used to render a list of posts of the specified section only. If you don't set it, then posts of all sections will be rendered.limit, which can be set to a number. It specifies the number of posts to show. If not set, all posts will be rendered.show_more, which can be true. If it is true and if the number of posts to show is greater than the specifiedlimit, render a link to another page. To specify the URL and the text of the link, you can setshow_more_urlandshow_more_textattributes, which are documented below.show_more_url, which can be a string. It specifies the URL for the show more link. Use only ifshow_moreis true. This will usually redirect to a page containing all posts, which you can easily create using an section page (see section pages section)show_more_text, which can be a string. It specifies the text for the show more link. Use only ifshow_moreis true.
entries, yes, you can have entries inside entries. In this way you can create nested sublists!
Section pages
A so-called section page is a page that shows a list of posts in a specific section. It should be automatically created by hugo when a new section is created.
Customize the index page
The index.md page should use layout home, which is the layout that displays the menu. If you want to have some content after the menu, you can just add that content in the _index.md file, and it will automatically show under the menu.
Another thing you can do to customize the index page is show the description of your blog between the title and the menu. To do this, just edit config.toml and change params.theme_config.show_description to true.
Adding table of contents
You can add a table of contents by supplying the toc: true param to your post front matter. If you want a border around it you can also set tocBorder: true. The toc style behavior is handled by Goldmark and the defaults can be found in the config.toml file.
Pro tips
Dark mode for images
This theme provides dark mode by inverting all colors of light mode throught the CSS invert() function. This approach would also invert the color of all images, but, since this is not the behaviour one would expect, images are not inverted by default.
However, if you would like to force the color inversion on a specific image you can do so by applying class="ioda" to that image ("ioda" stands for "invert on dark appearance"). See the image in the overview post for an example of this approach. Note that color inversion will take place only when the theme has dark appearance!
For example, if you have a black and white image it could make sense to invert it in dark mode. On the other hand, a colorful image will probably look bad if inverted.
Contributing
Bug reports and pull requests are welcome on GitHub at https://github.com/Masellum/hugo-theme-nostyleplease.
Thanks
Some of the code comes from wooseopkim/hugo-theme-nostyleplease, a fork of this theme.
Some of the test pages are from this jekyll theme.
License
The theme is available as open source under the terms of the MIT License.